
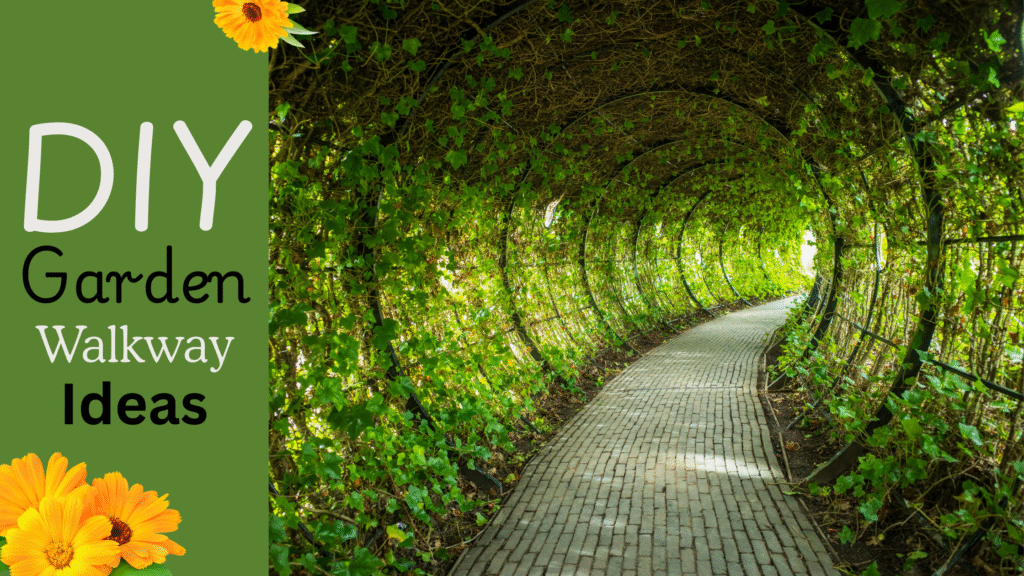
Creating a do-it-yourself garden walkway is a simple way to make your outdoor space feel more intentional, cozy, and welcoming. It doesn’t need to be costly or complex—just a little planning, basic materials, and a clear step-by-step guide.
Start by thinking about the purpose of your walkway.
Is it for reaching your vegetable garden, linking your gate to your home, or just creating a pleasant path through your plants? Having a clear purpose helps you decide the best path and materials. Curved paths look more natural and relaxed, while straight paths give a neat and formal look. Use a garden hose, string, or chalk to sketch the general route, then walk it yourself to ensure it feels comfortable.
Next, choose the material that suits your budget, climate, and style.
Common choices for DIY walkways include:
– Gravel or pebbles for a casual, natural look
– Stepping stones or pavers for a clean, defined path
– Bricks or recycled blocks for a classic feel
– Wood chips or mulch for a soft, rustic appearance
For most home gardens, a mix of stepping stones with gravel or mulch between them is affordable, easy to install, and requires minimal maintenance.
Before you begin, properly prepare the ground.
Remove grass, weeds, and roots along the path using a shovel or hoe. Dig to a depth of 5–10 cm, depending on the material you choose. Use a rake to level the soil so water doesn’t pool in one area. If your area gets a lot of rain, create a slight slope to one side so water can drain away instead of sitting on the path.
For a beginner-friendly walkway, a gravel or pebble path works well.
Lay down a layer of landscape fabric to prevent weeds from growing up through the stones. Add an edging, such as bricks, metal strips, or wooden borders, to keep the stones in place. Pour gravel or pebbles evenly along the path and spread them with a rake until you reach the desired thickness. Walk over it or press it down lightly to make the surface firm and stable. This type of path is especially good around vegetable beds, herb patches, or flower borders.
If you prefer stepping stones surrounded by grass, mulch, or gravel, follow these steps: Place the stones on the ground first, then adjust their spacing so your stride feels natural.
Trace around each stone, then remove it and dig a shallow hole matching its shape. Fill the base with a thin layer of sand or fine gravel for drainage and stability. Put the stone back in place, pressing it down until it’s level with the surrounding ground and doesn’t wobble. You can fill the spaces between the stones with gravel, low-growing groundcovers, or even grass for a softer look.
Add finishing touches to make your walkway more inviting.
Soft lighting, such as small solar lights along the edges, makes evening walks safer and more enjoyable. Planting low herbs, flowering plants, or small shrubs along the sides frames the path and guides the eye. Over time, keep the walkway in good condition by removing weeds from the edges, adding more gravel or mulch when it becomes thin, and resetting any stones that sink or shift.
With a clear plan and simple steps, a DIY garden walkway becomes a fun weekend project rather than a stressful task.
The result is a beautiful and practical path that encourages you to spend more time outdoors—whether it’s to water plants, enjoy a cup of tea, or simply take a quiet walk through your own piece of nature.
Bottom Line: A verified, optimized GBP = more foot traffic, calls, and sales.
Neglect it, and you’re invisible locally.
Profile issues can be frustrating, but they’re fixable.
Regularly check your profile, follow guidelines, and keep it updated. Need hands-on help? Google’s support resources or tools like Sterling Sky offer reinstatement guides. Your business deserves to be seen—get listed today!